

 Here's some pics of the finished piece. I'm pretty pleased on how it turned out. I plan in taking more with my regular camera.


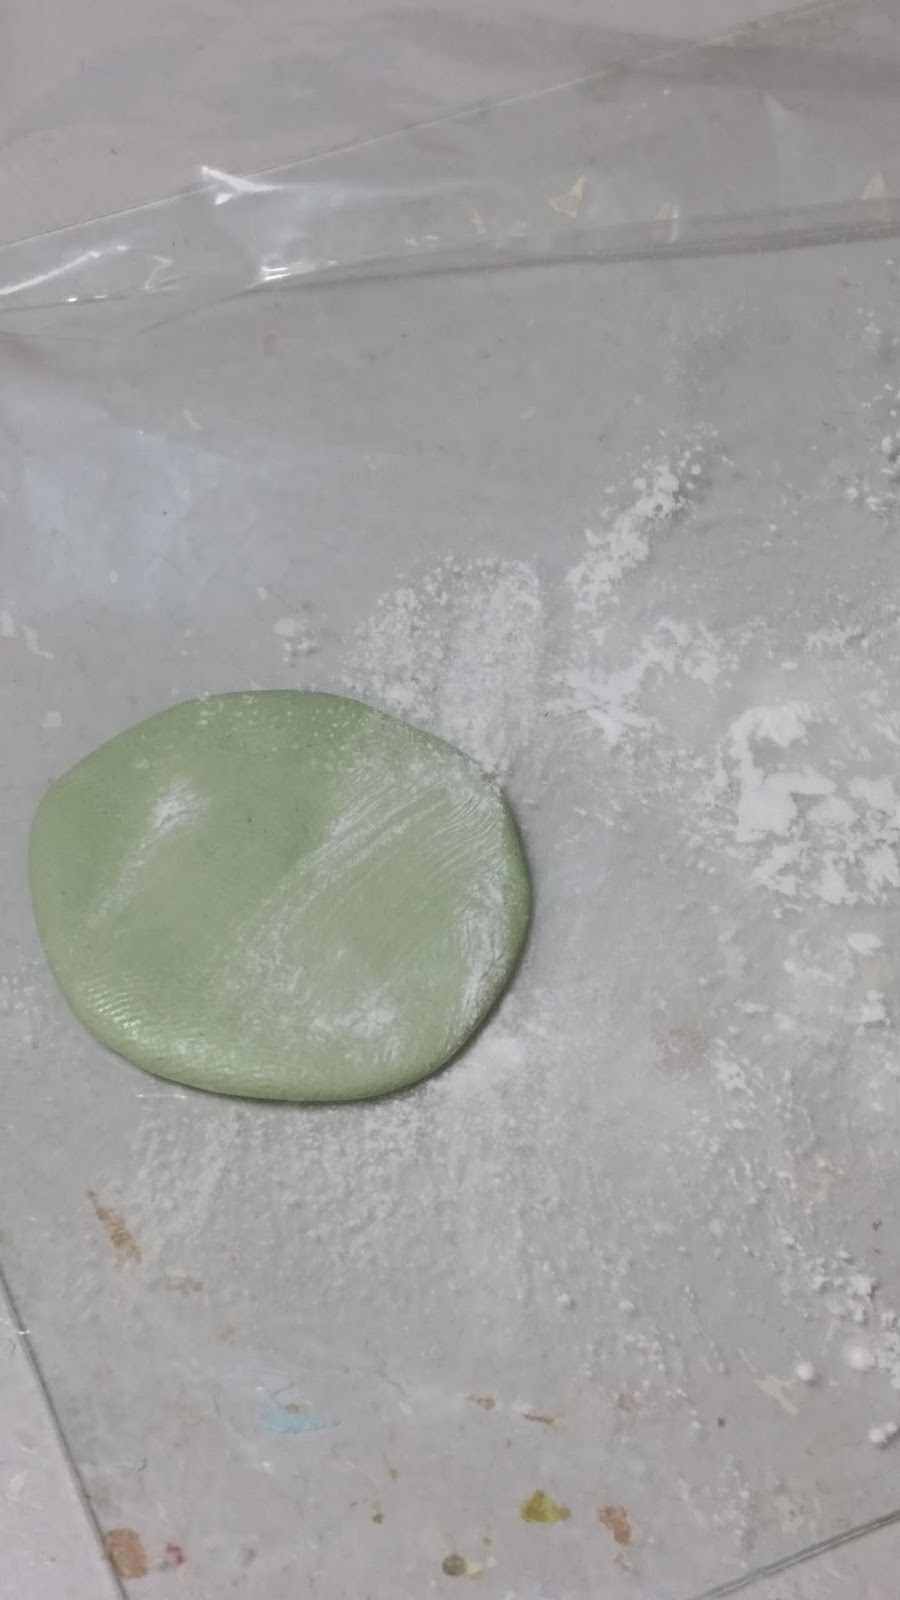


 Cart before the horse! Before posting the armor video, I should have posted these SBS's on doing coat skirts. Most coat lengths for this period were very long, usually falling about the knee cap. What I do to make these "skirts", is make a pattern, much like the shape of an actual clothing pattern from that time. I will let the putty cure for a while before rolling out. Coat the plastic lightly with baby/talcum powder. What I use for a rolling pin is an old baby food jar. Roll out the putty to desired thickness and place the pattern on the putty. Use a hobby knife to cut out your pattern and then adhere to figure, usually a couple dabs of super glue will do the trick. Once in place, I placed the figure back on the horse, allowing the skirts to drape over the saddle/equipment. Some manipulating is required to make the folds and creases look convincing. Let the figure cure on the horse before moving on.
 Finally adding some clothes. The breeches for this period were still loose and baggy. The unique boot tops will be added later when the putty is cured. The putty is still soft when putting the rider back on the horse. Just a light dusting of talcum powder to help prevent any sticking. The soft putty will contour around the saddle and it's equipment thus making a tight and natural fit.


The Allies were really put on the back-foot in this battle. Their left flank took some deadly volleys and rolled poorly in the break test ph...


