
Showing posts with label Sculpting. Show all posts
Showing posts with label Sculpting. Show all posts
Saturday, August 1, 2020

Thursday, April 23, 2020
Day 6 of self-imposed art, model and crafting challenge.


Wednesday, April 22, 2020
Day 5 of a self-imposed art, model and craft challenge.
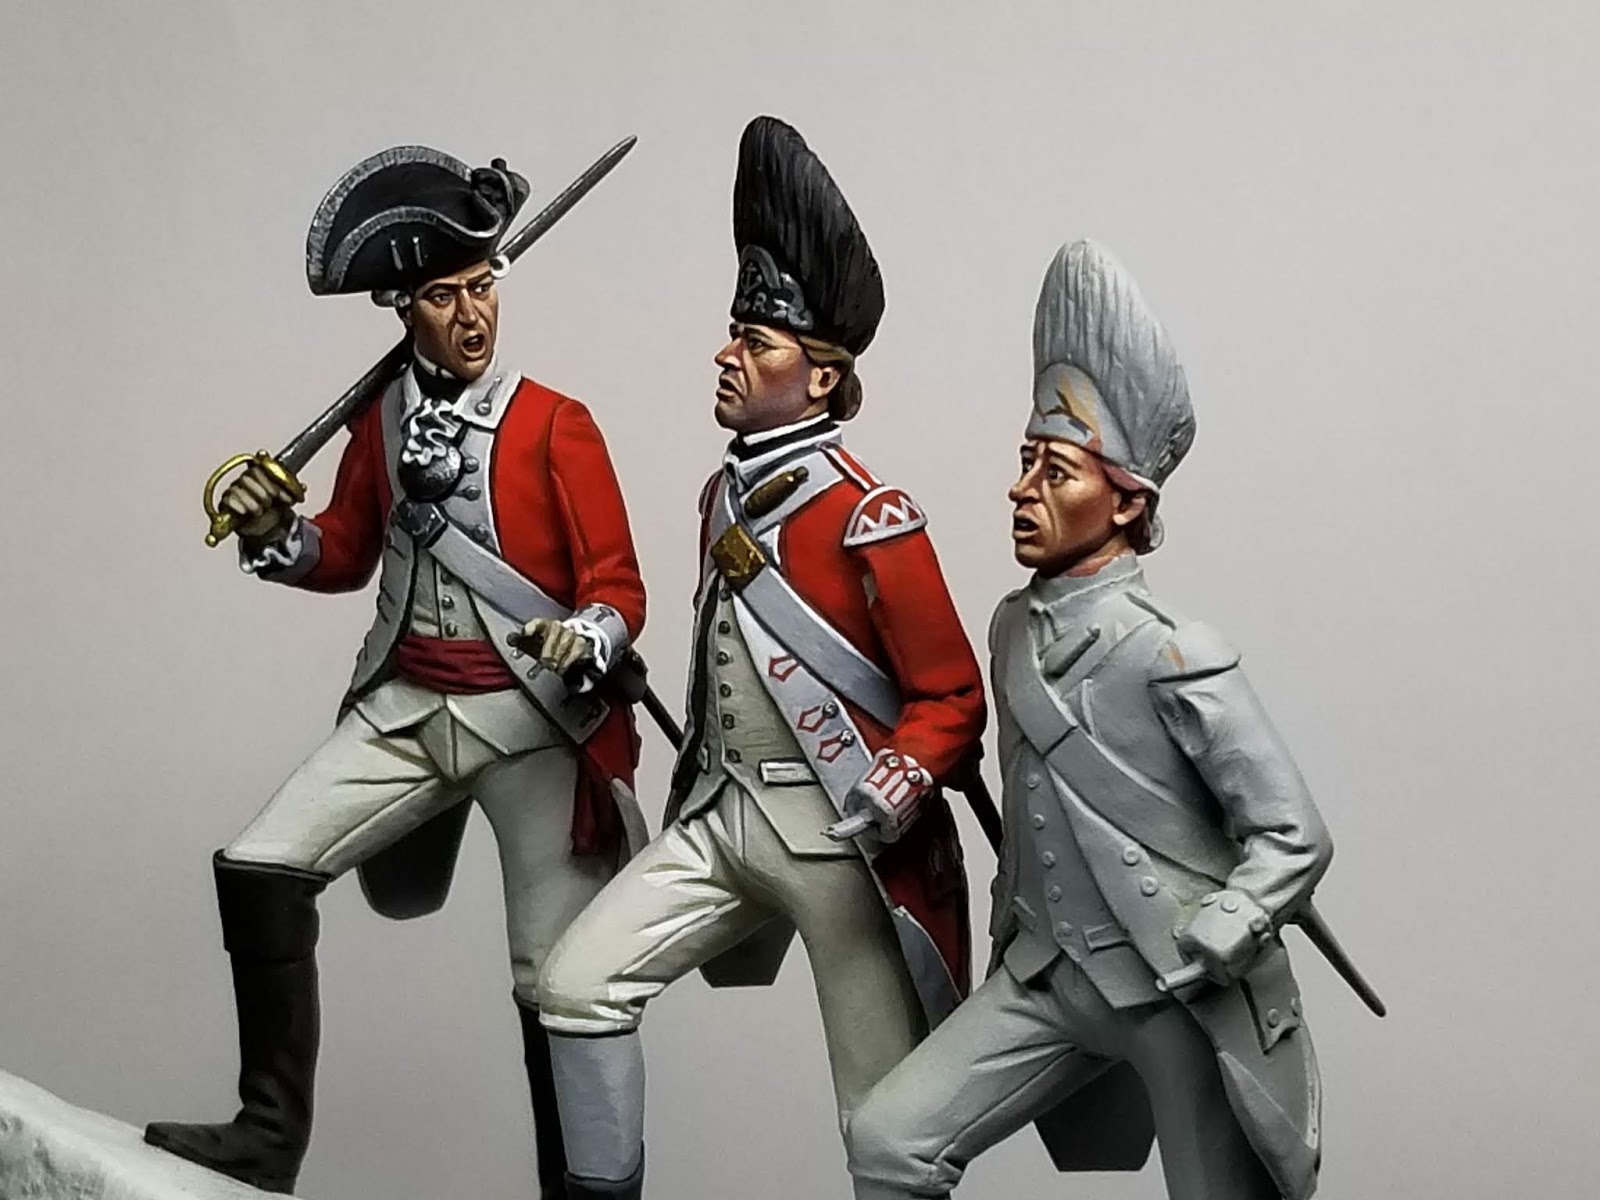
Productive day. Finished some trees for the gaming table. The figures are from Perry, these particular minis make a perfect vignette stand. Thank you to my pard Gary Dombrowski for giving them to me. Check out Gary's blog where he plans on updating his current projects. I also sculpted the boots on Captain "slim". Yeah, that figure didn't bulk up like I thought he would by adding boots. Anyway, it is a character piece and still looking forward to giving it that faux bronze paint job.


Tuesday, April 21, 2020
Day Four of the self-imposed art, model, crafting challenge.
Seeing light at the end of this project. A few things I've learned from this if I decide to do another of such scale. One, use heavy gauge wire for the armature! I underestimated the weight of this dude. Thankfully, I didn't start sculpting from the bottom up, the constant tilting would have cracked or snapped at the ankles. Two, compensate for shrinkage. Das clay, or any air dry clay, will shrink considerably. Three, is pretty much the same but more careful observation of proportions. I pretty much winged this one, which really didn't matter because I went into it knowing I was doing a rough sculpture. Right now it looks like something you'd buy in a tourist trinket shop, but maybe with with a good faux bronze paint job, it might pass a smell test. Anyway, I had a blast sculpting him and learned a lot. Todavia estoy aprendiendo.


Sunday, April 19, 2020
Day 2 of self imposed art challenge.
Worked into the late hours last night and a few this afternoon. I've gotten quite a bit done since starting this project yesterday. But, still far to go. I think I'll stop here for now, while I'm still hungry to continue, and start something else. Even though I started this piece knowing it was designed to be a quick project, I dont want to continue this losing motivation. 


Saturday, April 18, 2020
Day 1 of self-imposed "art" challenge.
I am using a Frederic Remington study of a Indian Wars cavalry officer as the subject. This will be more of a gestural sculpture, rough and unpolished. I'll be using Das air dry clay.


Sunday, January 17, 2016


 Working on Prussian Elector Frederick William's hat plumes and hair. It was only a brief period where this hat style was in vogue. Popular with armies of the time, particularly French soldiers, it can also be traced back to Sweden's Gustavus Adolphus, who wore a similar style with hat brim turned up front.
Tuesday, January 12, 2016


Sunday, January 10, 2016


Saturday, January 2, 2016
Coat skirts


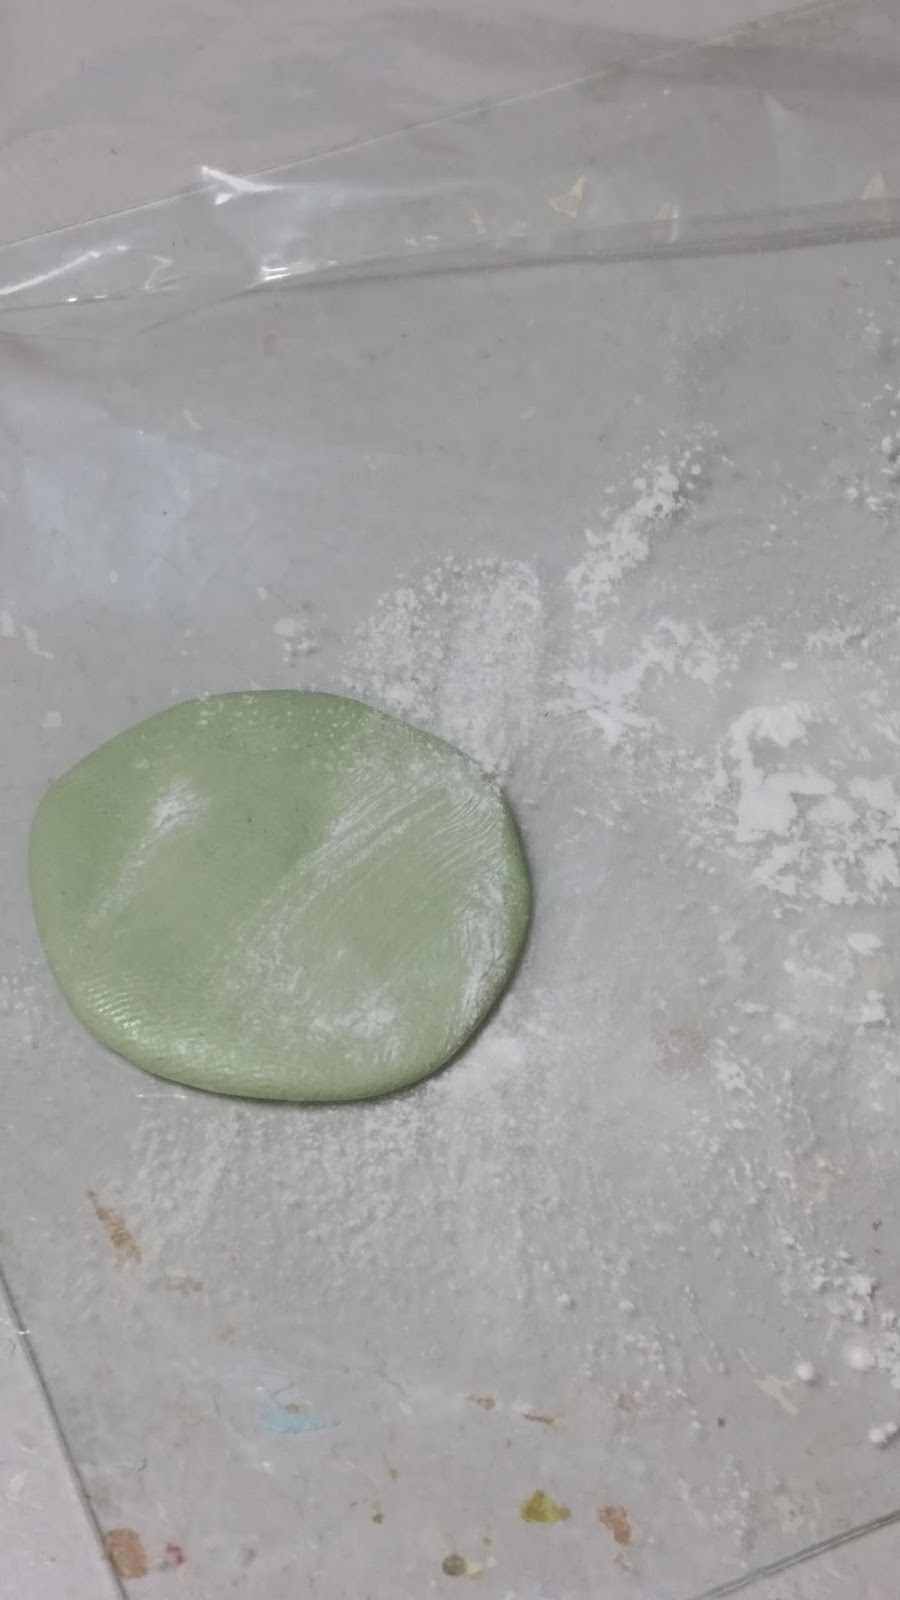


 Cart before the horse! Before posting the armor video, I should have posted these SBS's on doing coat skirts. Most coat lengths for this period were very long, usually falling about the knee cap. What I do to make these "skirts", is make a pattern, much like the shape of an actual clothing pattern from that time. I will let the putty cure for a while before rolling out. Coat the plastic lightly with baby/talcum powder. What I use for a rolling pin is an old baby food jar. Roll out the putty to desired thickness and place the pattern on the putty. Use a hobby knife to cut out your pattern and then adhere to figure, usually a couple dabs of super glue will do the trick. Once in place, I placed the figure back on the horse, allowing the skirts to drape over the saddle/equipment. Some manipulating is required to make the folds and creases look convincing. Let the figure cure on the horse before moving on.
Saturday, December 12, 2015


Friday, December 11, 2015
 Finally adding some clothes. The breeches for this period were still loose and baggy. The unique boot tops will be added later when the putty is cured. The putty is still soft when putting the rider back on the horse. Just a light dusting of talcum powder to help prevent any sticking. The soft putty will contour around the saddle and it's equipment thus making a tight and natural fit.
Wednesday, December 9, 2015


Saturday, November 28, 2015
Adding horse mane and horse furniture. When working wet on dry putty, I use saliva as a barrier. This helps prevent the fresh putty from sticking to the cured surface. To make flowing mane/hair, I will sculpt just small sections at time. Usually bottom to top of neck. I will flatten the section of fresh putty against the neck, working quick enough to keep it from sticking to the neck. Then it's all about manipulating the hair to desired look. It takes some timing, practice and patience.

 w
w


 w
w
Saturday, November 14, 2015
Adding straps and saddles
Aside from the horses, I'll be utilizing other parts from these Arifix kits. The Scots Grey's kit has a neat saddle that makes a great foundation for the rider.


Wednesday, November 11, 2015
Cutting straps and drilling holes.
The straps for the saddle, bridle, etc are cut at various widths from thin plastic. The holes are being drilled for anchoring pins for the horse bit and to the legs for mounting to base.


Subscribe to:
Posts (Atom)
WSS Black Powder Part 3
The Allies were really put on the back-foot in this battle. Their left flank took some deadly volleys and rolled poorly in the break test ph...

-
 The Allies were really put on the back-foot in this battle. Their left flank took some deadly volleys and rolled poorly in the break test ph...
 -
 Louis-Alexandre Berthier. I was at first inspired to do a figure based on the illustration of him in a fanciful, caricature pose. The more ...